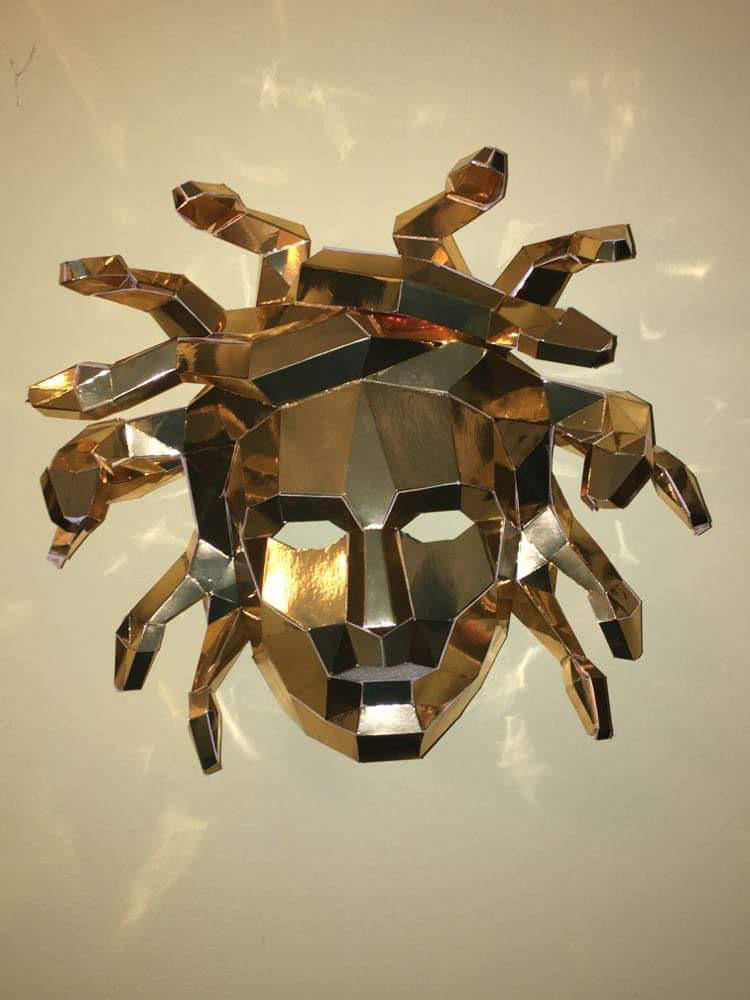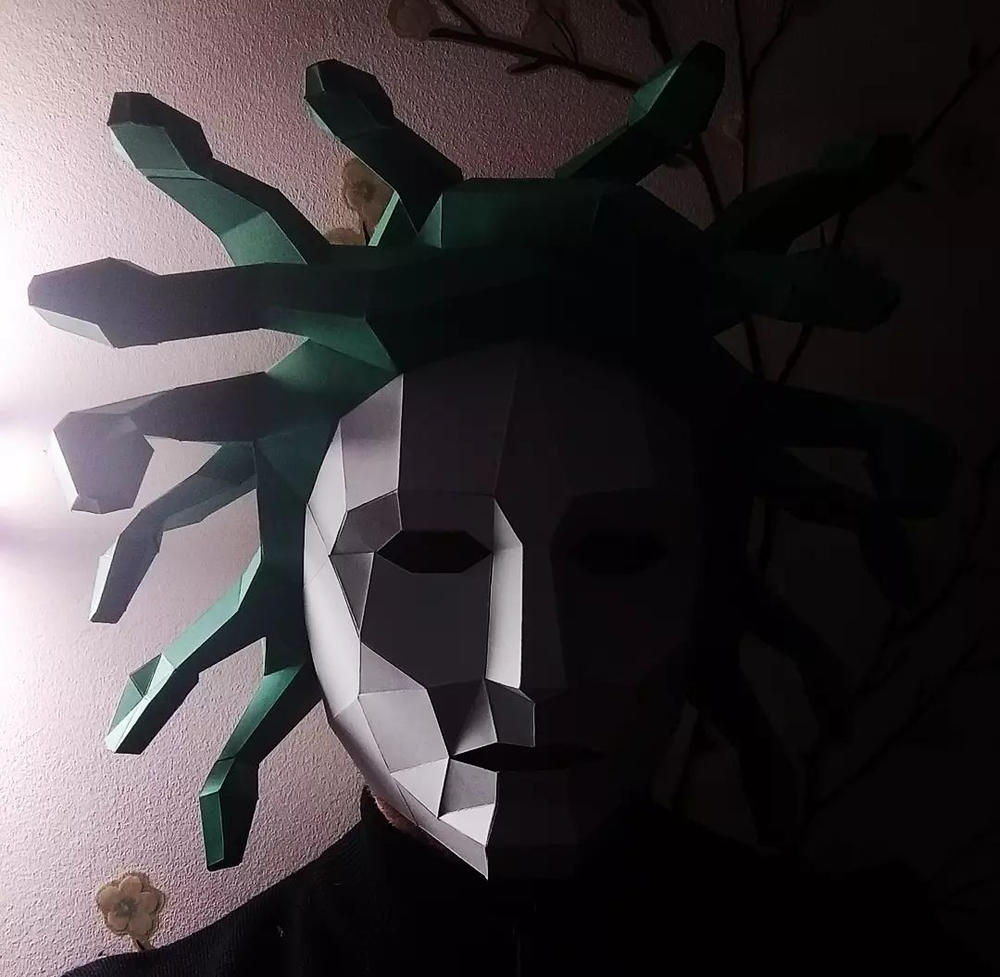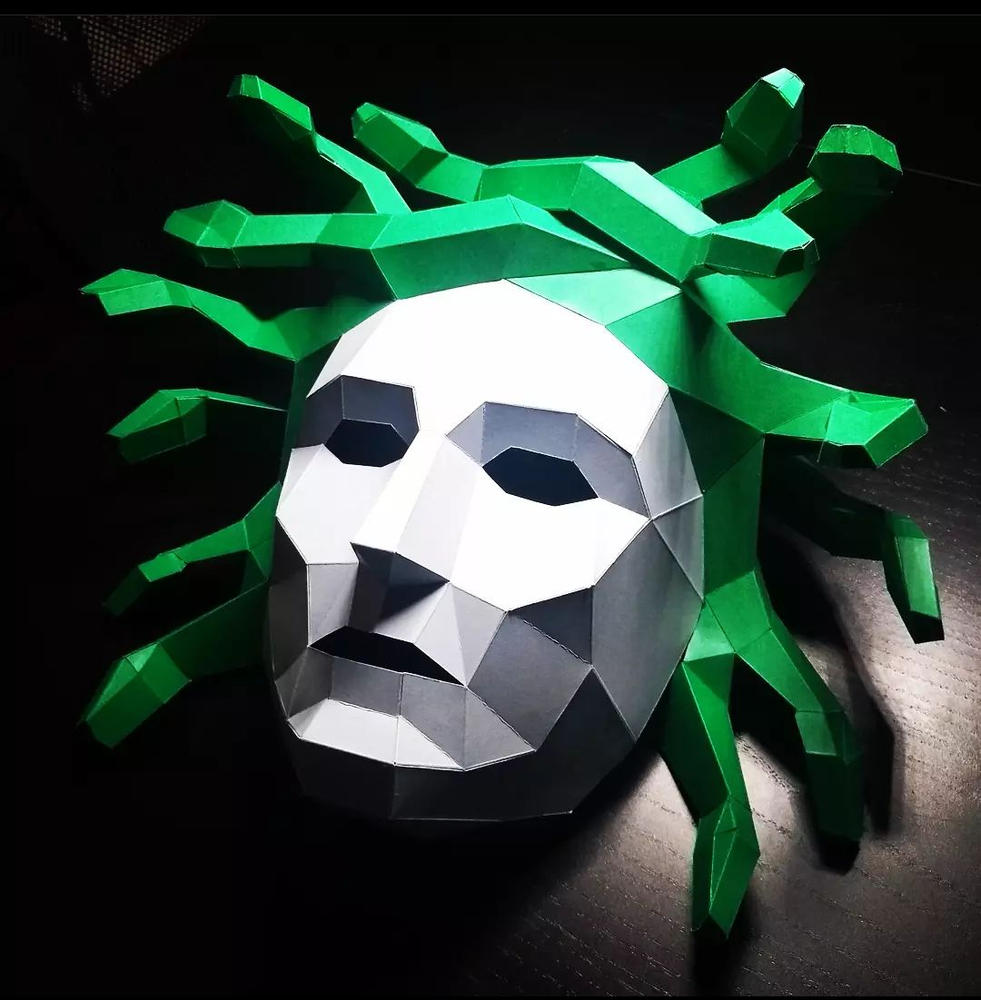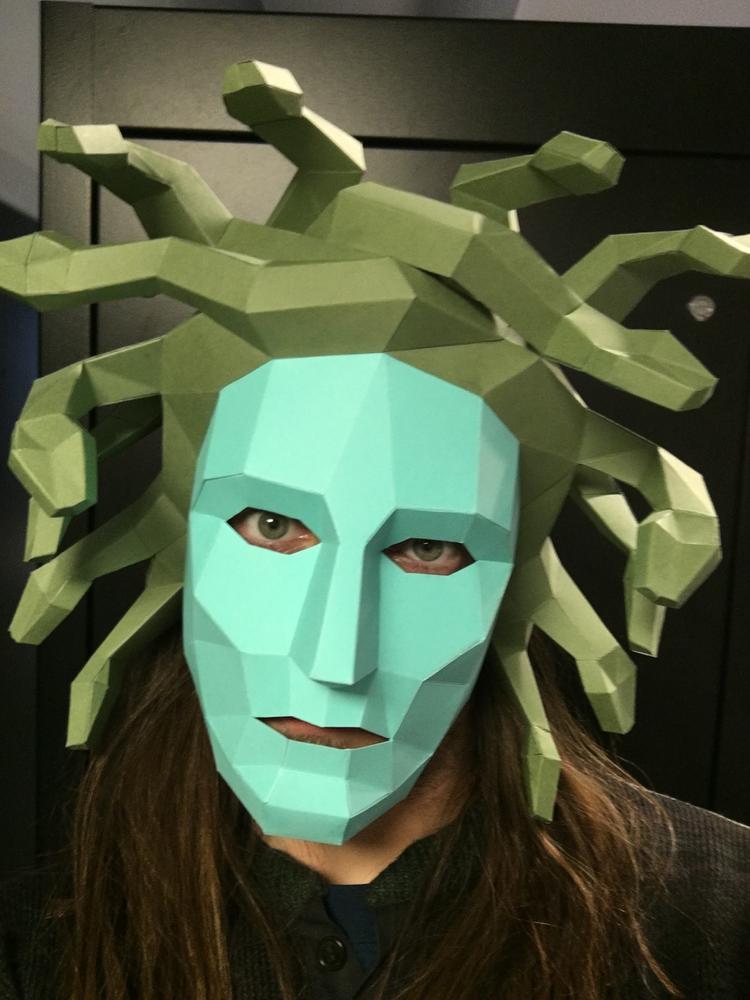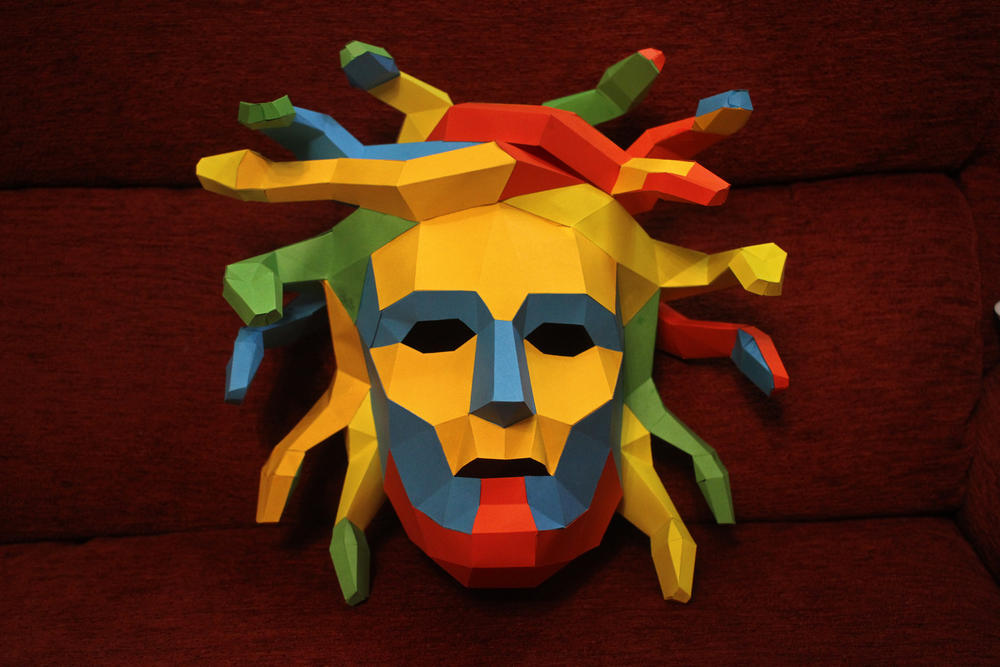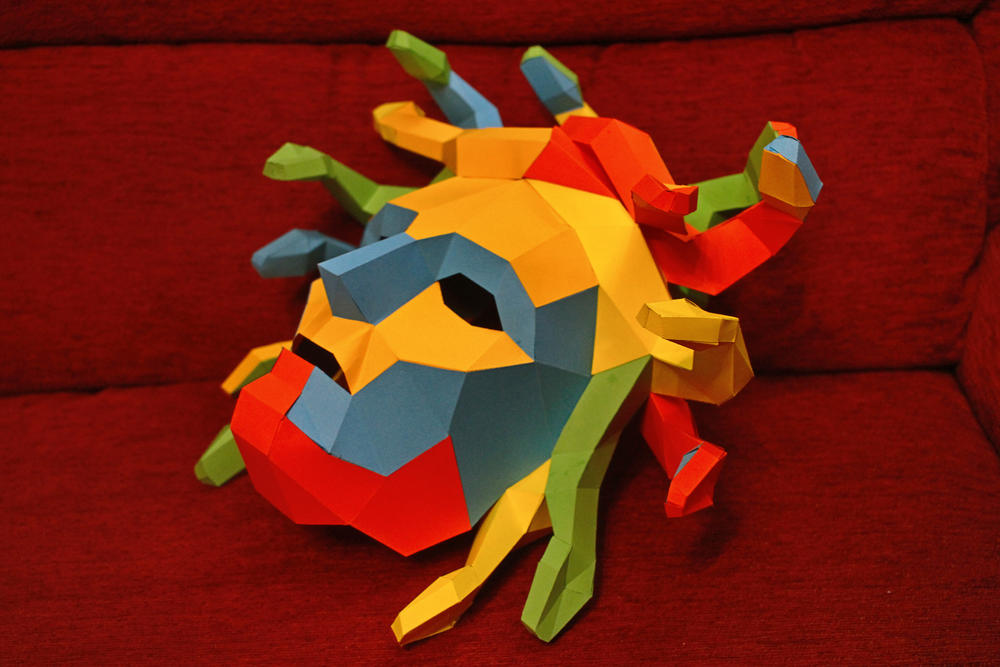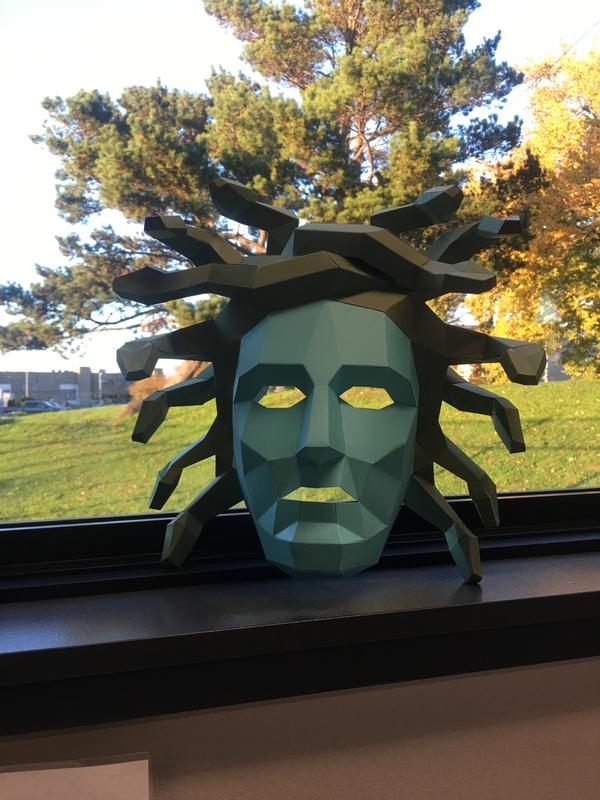


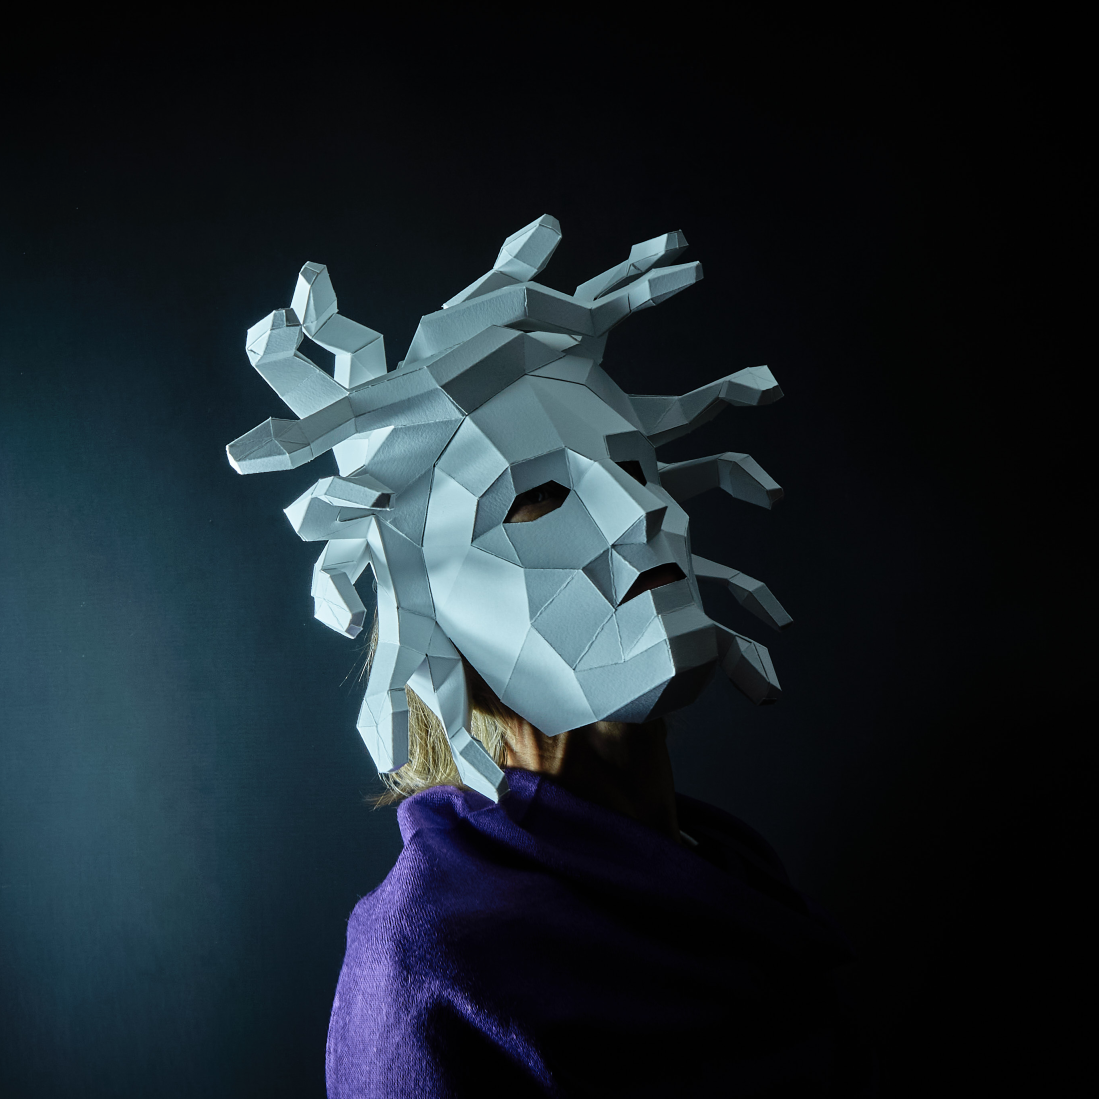
Medusa Mask
DIGITAL DOWNLOAD
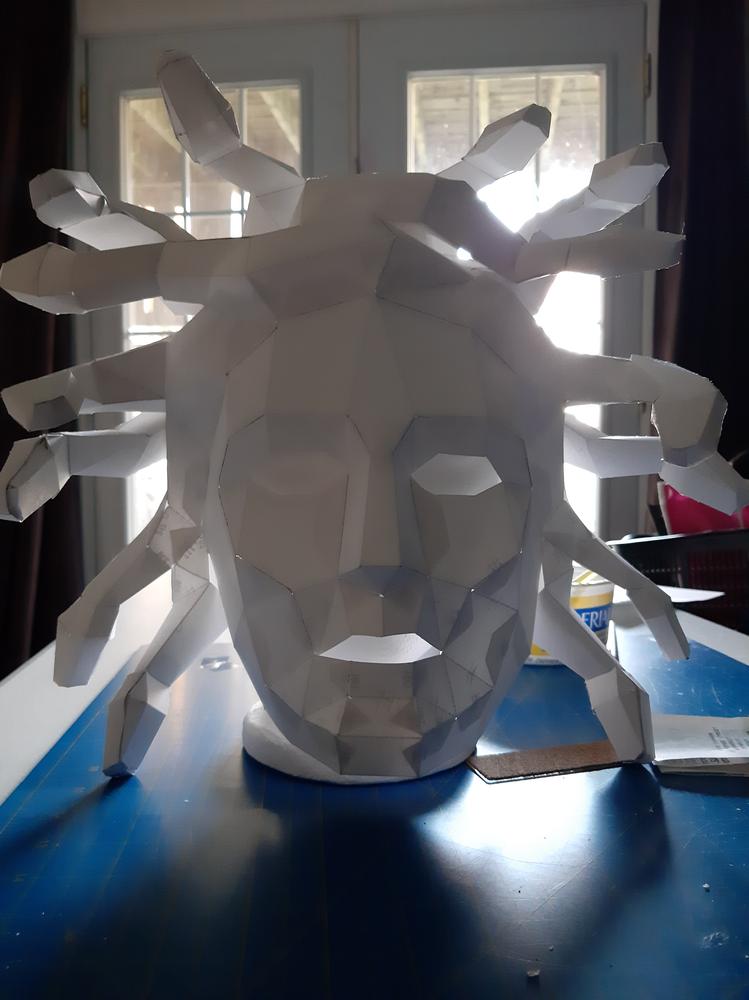
Our builders have been asking for this for a long time and Steve had to travel to realms beyond to seek the serpent-headed one. This is not intended for first time builders and is our most involved papercraft build adventure yet. Expect a 6-8 hour build.
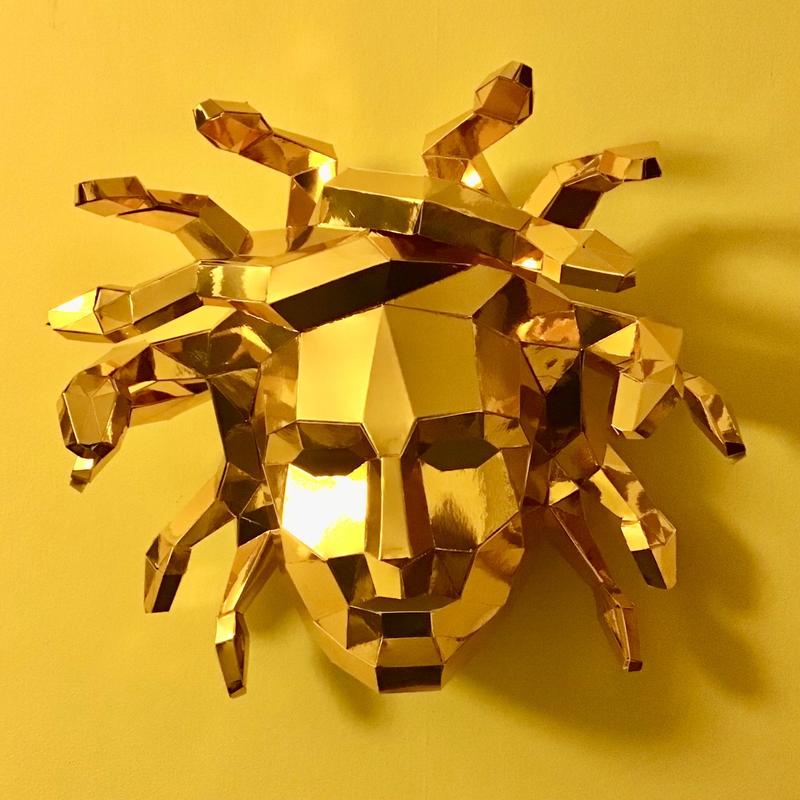
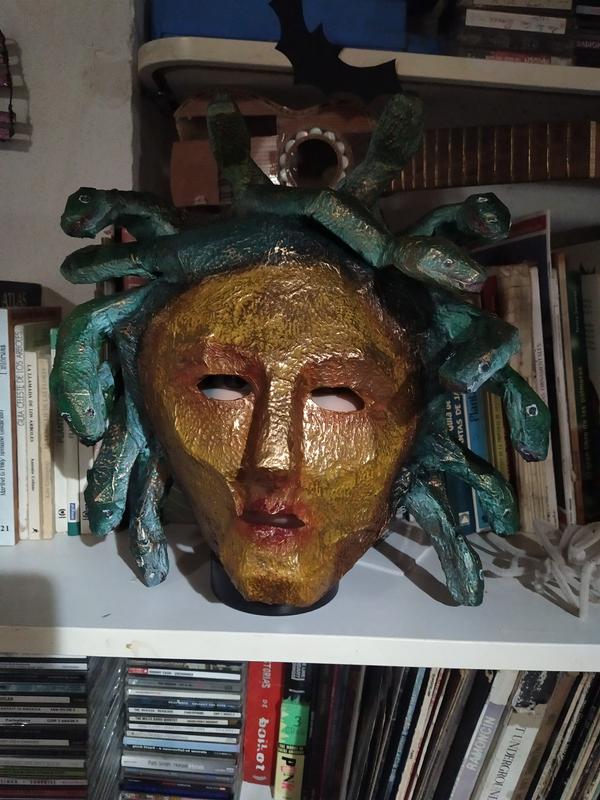
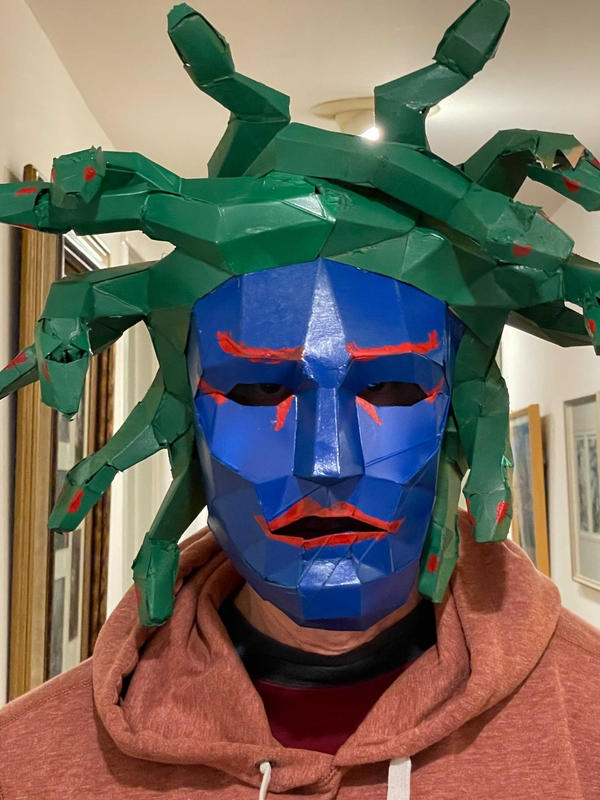
This gorgeous gorgon can freeze a mortal into stone with a single glance. A restless nest of serpents writhes atop her head as a living crown of warning to those who dare approach. You are beauty, you are beast, you are MEDUSA.
-
Perhaps our most anticipated and requested mythical creature ever, we are proud to present this papercraft design of one of the most iconic mythical entities of all time. This build has experienced mask makers in mind, but those who dare embark on such a dangerous journey will emerge as heroes upon completion.
-
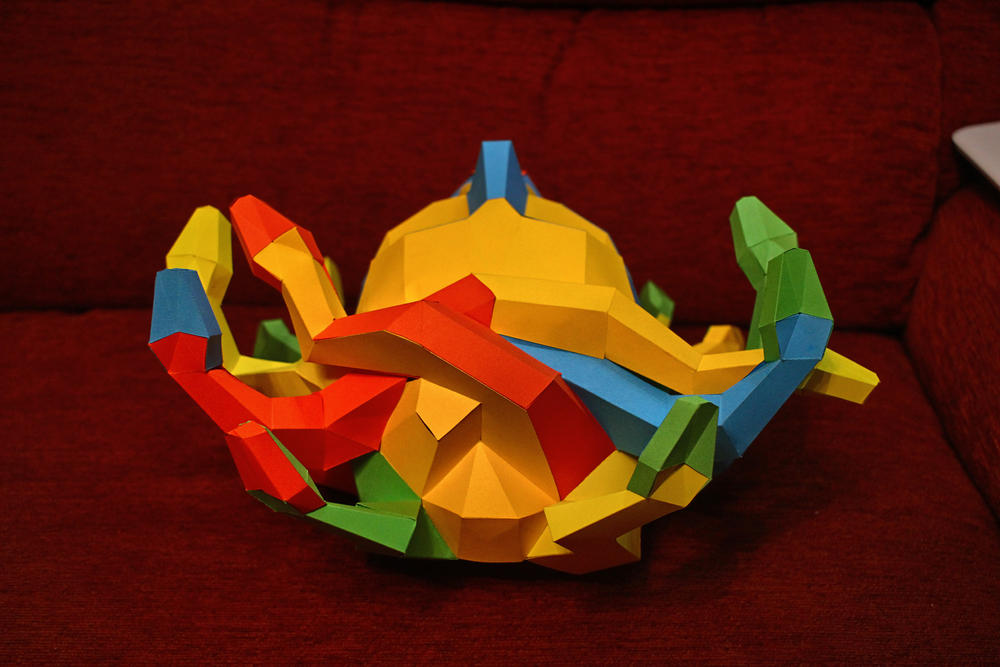
Simply print the templates on paper, stick them to card, cut them out, match the numbers and join the tabs together. The Mask is scaled to fit an adult but you can make children's masks by scaling down the templates when you print - check our FAQ page for details. The templates come with instructions for an internal head band that can be adjusted by moving the fixing points to get a snug fit. Some templates are supplied with component colour guides to help you create identifiable markings unique to the Mask.
- Supplied as an instant access PDF that you can download and print on any home printer
- Choose to build with tape or gluing tabs
- Robust polygon construction to survive the wildest of parties
- Ideal for festivals, parties, special events or simply for fun